| Bookmark Name | Actions |
|---|
Deploy Receipting Microservice in Azure Container
The Receipting microservice is provisioned for deployment in an Azure container.
Setting up Azure Command Line
This section describes how to set up the Azure Command Line Interface.
- Download and install AZURE CLI from,
- After installation azure login into azure portal from cli by using the below cli command:
https://docs.microsoft.com/en-us/cli/azure/install-azure-cli?view=azure-cli-latest
az login -u <username> -p <password>
Deployment Artefacts
The Receipt microservice for Azure deployment is available as a single release bundle. For example, ms-receipt-package-azure-<release.xxx>.zip.
It consists of the ms-receipt-package-azure-<release.xxx>.jar file and installation related files.
The install.sh/install.bat script is used to deploy the Receipt microservice in the Azure environment.
The destroy.sh/destroy.bat script is used to stop Azure services and delete those services in the Azure environment.
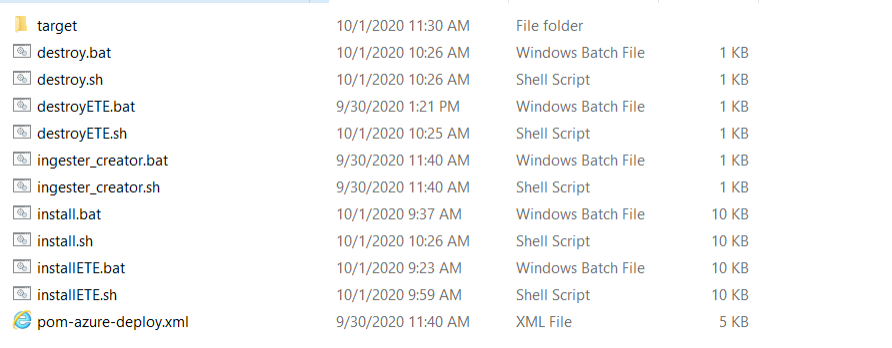
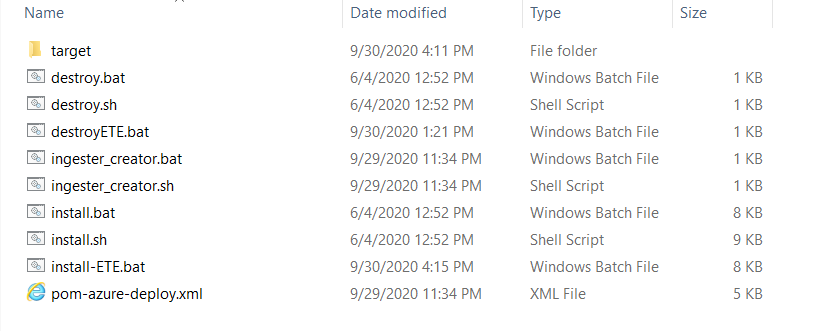
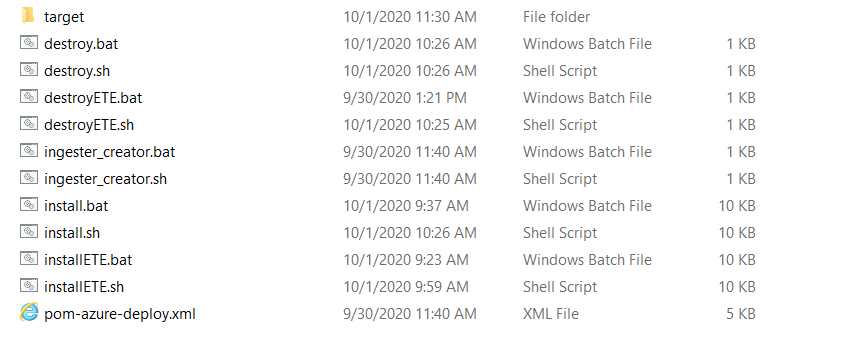
Folder structure for the ms-holdings-package-azure-<release.xxx>.zip

Installation steps
Follow the steps below to install the Receipt microservice into Azure.
- Copy and paste the generated zip file (from target folder) in the installation directory. Unzip it.
- Azure CLI , python (preferably 3), maven are pre-requisites to deploy this in azure.
- If you are running the sh scripts, you need a Linux box or WSL or Mac OS, gitBash is not supported for azure cli as of now.
- In command prompt, navigate to the installation directory
- Ensure that the folder name inside target/azure-functions is the same name as function app Name you've provided in the script.
- Modify the resource group, location, DB details, etc., in the install.sh/install.bat script specific to the installation. Ensure any property name is carefully changed, if it's used in multiple areas across the script , by finding and replacing the values.
- This script expects an event hub connection for both t24(des) and account aggregation. In case of account aggregation, ensure you run the account aggregation script first and provide the event hub details here, in case of t24(des), modify the event hub connection details for t24AmsApp in the script. In case the event hub isn't there, leave it as it is, if you wish only to use the Apis. You might see some errors related to JSON decoding and can be safely ignored as the remaining part of the script will continue to be executed.
- Execute install.sh or install.bat
- Once the installation is done the functions are created in Azure.
- Login into Azure portal and check the resourcegroup and functionsapps are created.

For Integrated Testing
- Copy and paste the generated zip file (from target folder) of EventStore MS, Receipt MS and Document MS in the installation directory. Unzip it.
- Azure CLI , python (preferably 3), maven are pre-requisites to deploy this in azure.
- If you are running the sh scripts, you need a Linux box or WSL or Mac OS, gitBash is not supported for azure cli as of now.
- In command prompt, navigate to the installation directory.
- Ensure that the folder name inside target/azure-functions is the same name as function app Name you've provided in the script.
- Modify the resource group, location, DB details, etc., in the install.sh/install.bat script specific to the installation. Ensure any property name is carefully changed, if it's used in multiple areas across the script , by finding and replacing the values.
- This script expects an event hub connection for both t24(des) and account aggregation. In case of account aggregation, ensure you run the account aggregation script first and provide the event hub details here, in case of t24(des), modify the event hub connection details for t24AmsApp in the script. In case the event hub isn't there, leave it as it is, if you wish only to use the Apis. You might see some errors related to JSON decoding and can be safely ignored as the remaining part of the script will continue to be executed.
- Execute the EventStore installETE.bat/installETE.sh
- Once the installation is done the functions are created in Azure for EventStore MS.
- Now execute the installETE.bat/installETE.sh in the Receipt MS Azure pack.
- Once the installation is done the functions are created in Azure for Receipt MS.
- Then execute the installETE.bat/installETE.sh in the DocumentMS Azure pack
- Once installation is completed, login into Azure portal and check the resourcegroup and functionsapps are created.
Add Bookmark
save your best linksView Bookmarks
Visit your best links BACK
BACK


Are you sure you want to log-off?